Printable tube coping templates are extremely accurate — but only if the shape is transferred to the tube correctly.
Most fit-up issues blamed on "bad templates" actually come from distortion, slipping, or sloppy marking during the transfer step. This guide shows how fabricators reliably move a printed coping pattern onto steel without losing accuracy.
Why the Transfer Step Matters
The template defines the exact saddle shape of the joint. Any error introduced during transfer becomes:
- Gaps at the joint
- Extra grinding
- Poor weld penetration
Accuracy here saves time later.
Step 1: Print at True Scale (Do This First)
Before wrapping anything around steel:
- Make sure your printer is set to 100% scale
- Disable "fit to page"
- Verify scale with a ruler if possible
Even a small scaling error will affect the fit.

Paper choice affects how well the template wraps and stays put.
Most fabricators use:
- Standard printer paper for quick jobs
- Light cardstock for repeated handling
Avoid thick paper that resists wrapping around the tube.
Step 2: Cut out the Template
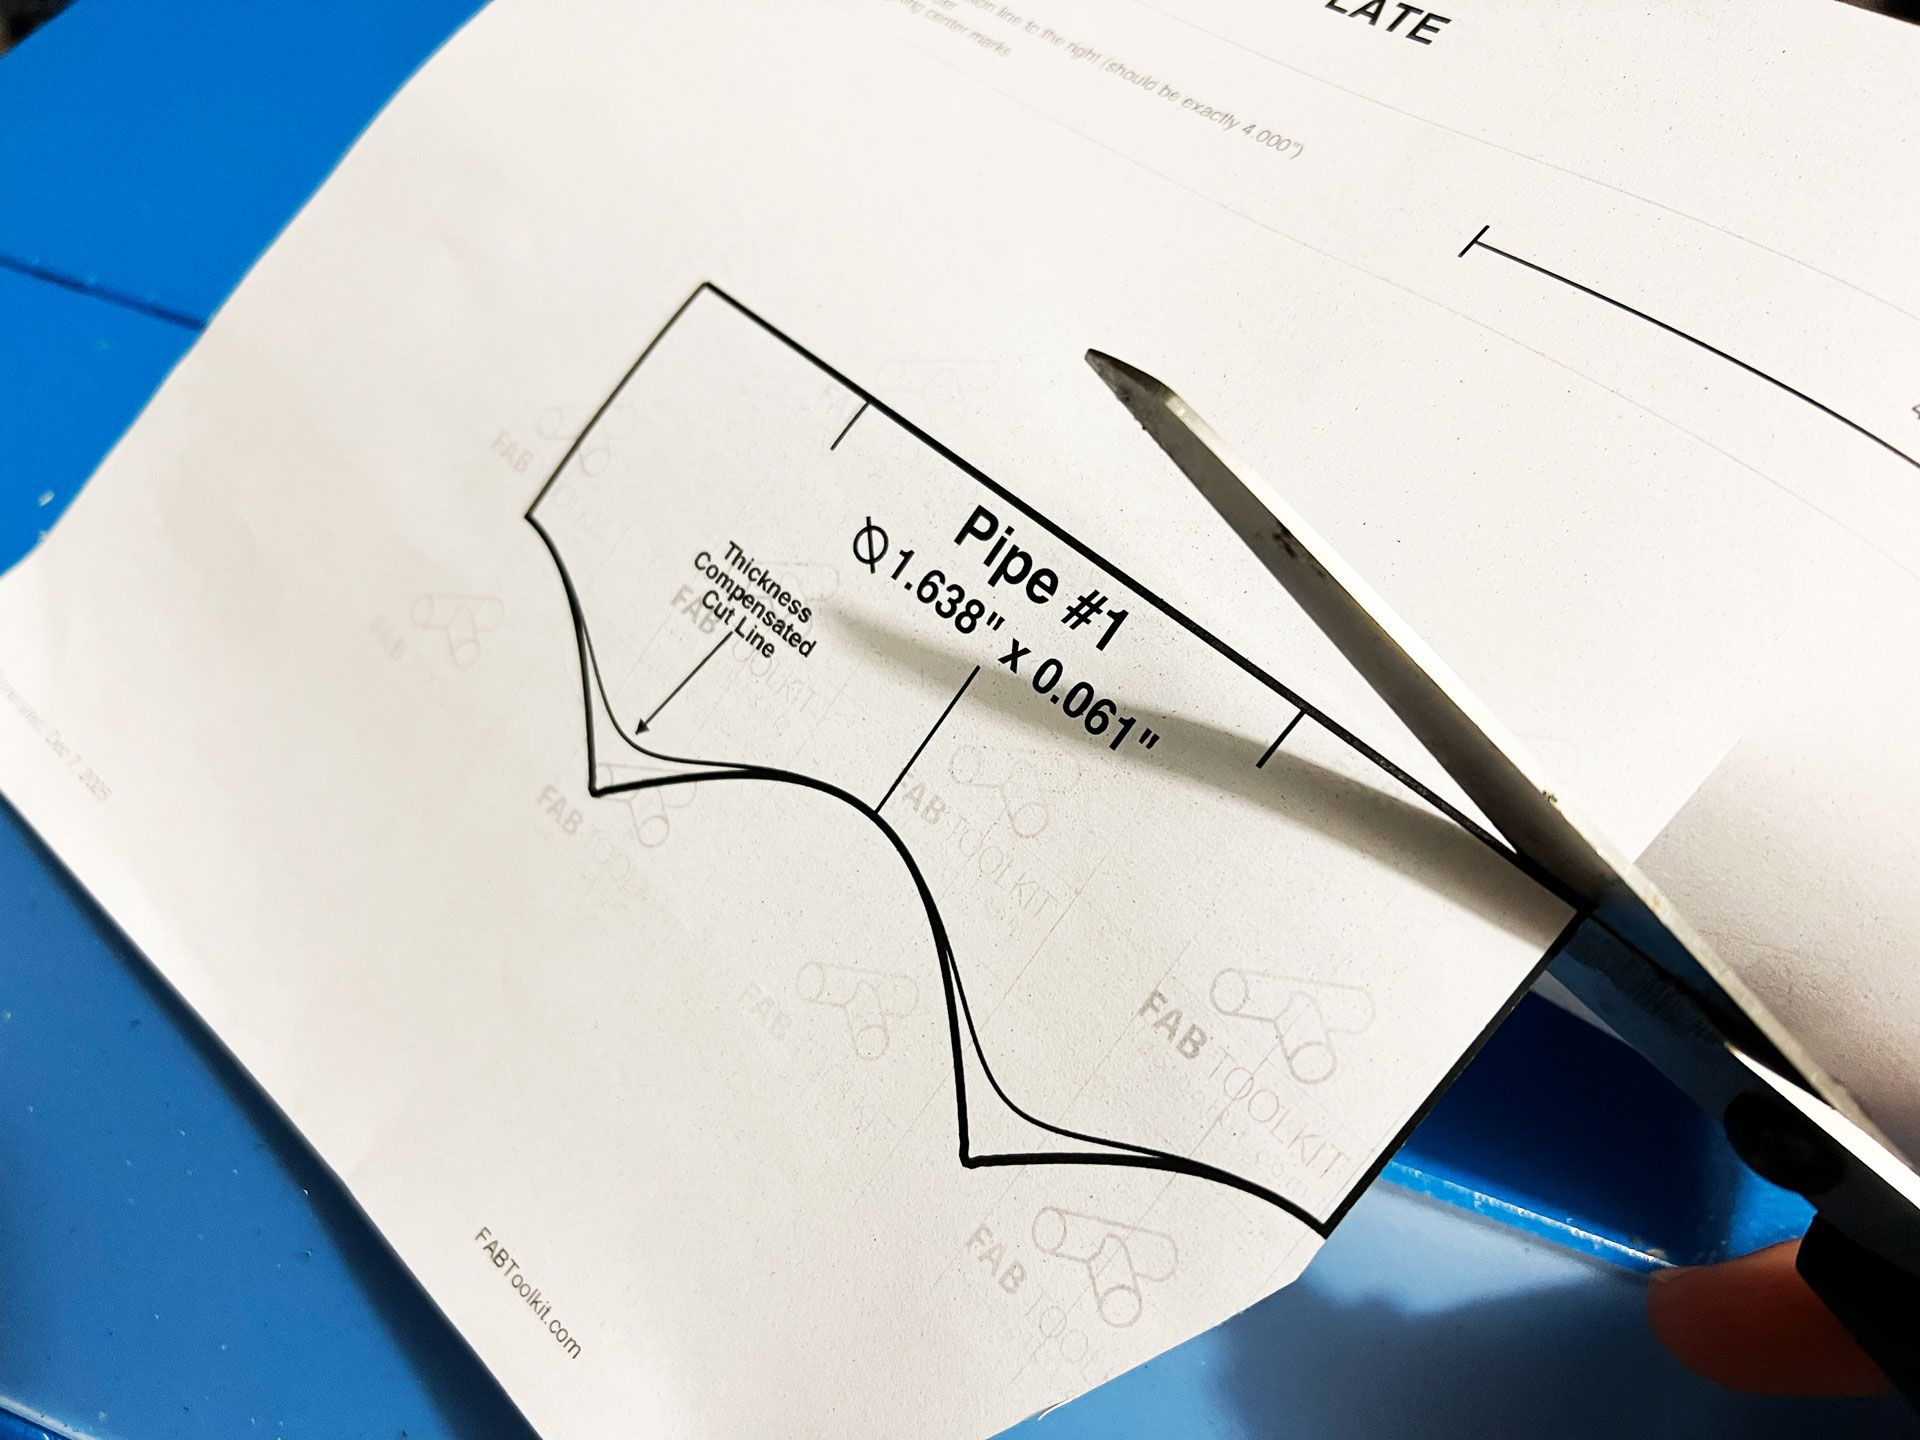
Use sharp scissors or a utility knife to cut along the printed outline carefully.
Take your time to ensure clean edges — jagged cuts can cause misalignment when wrapping.
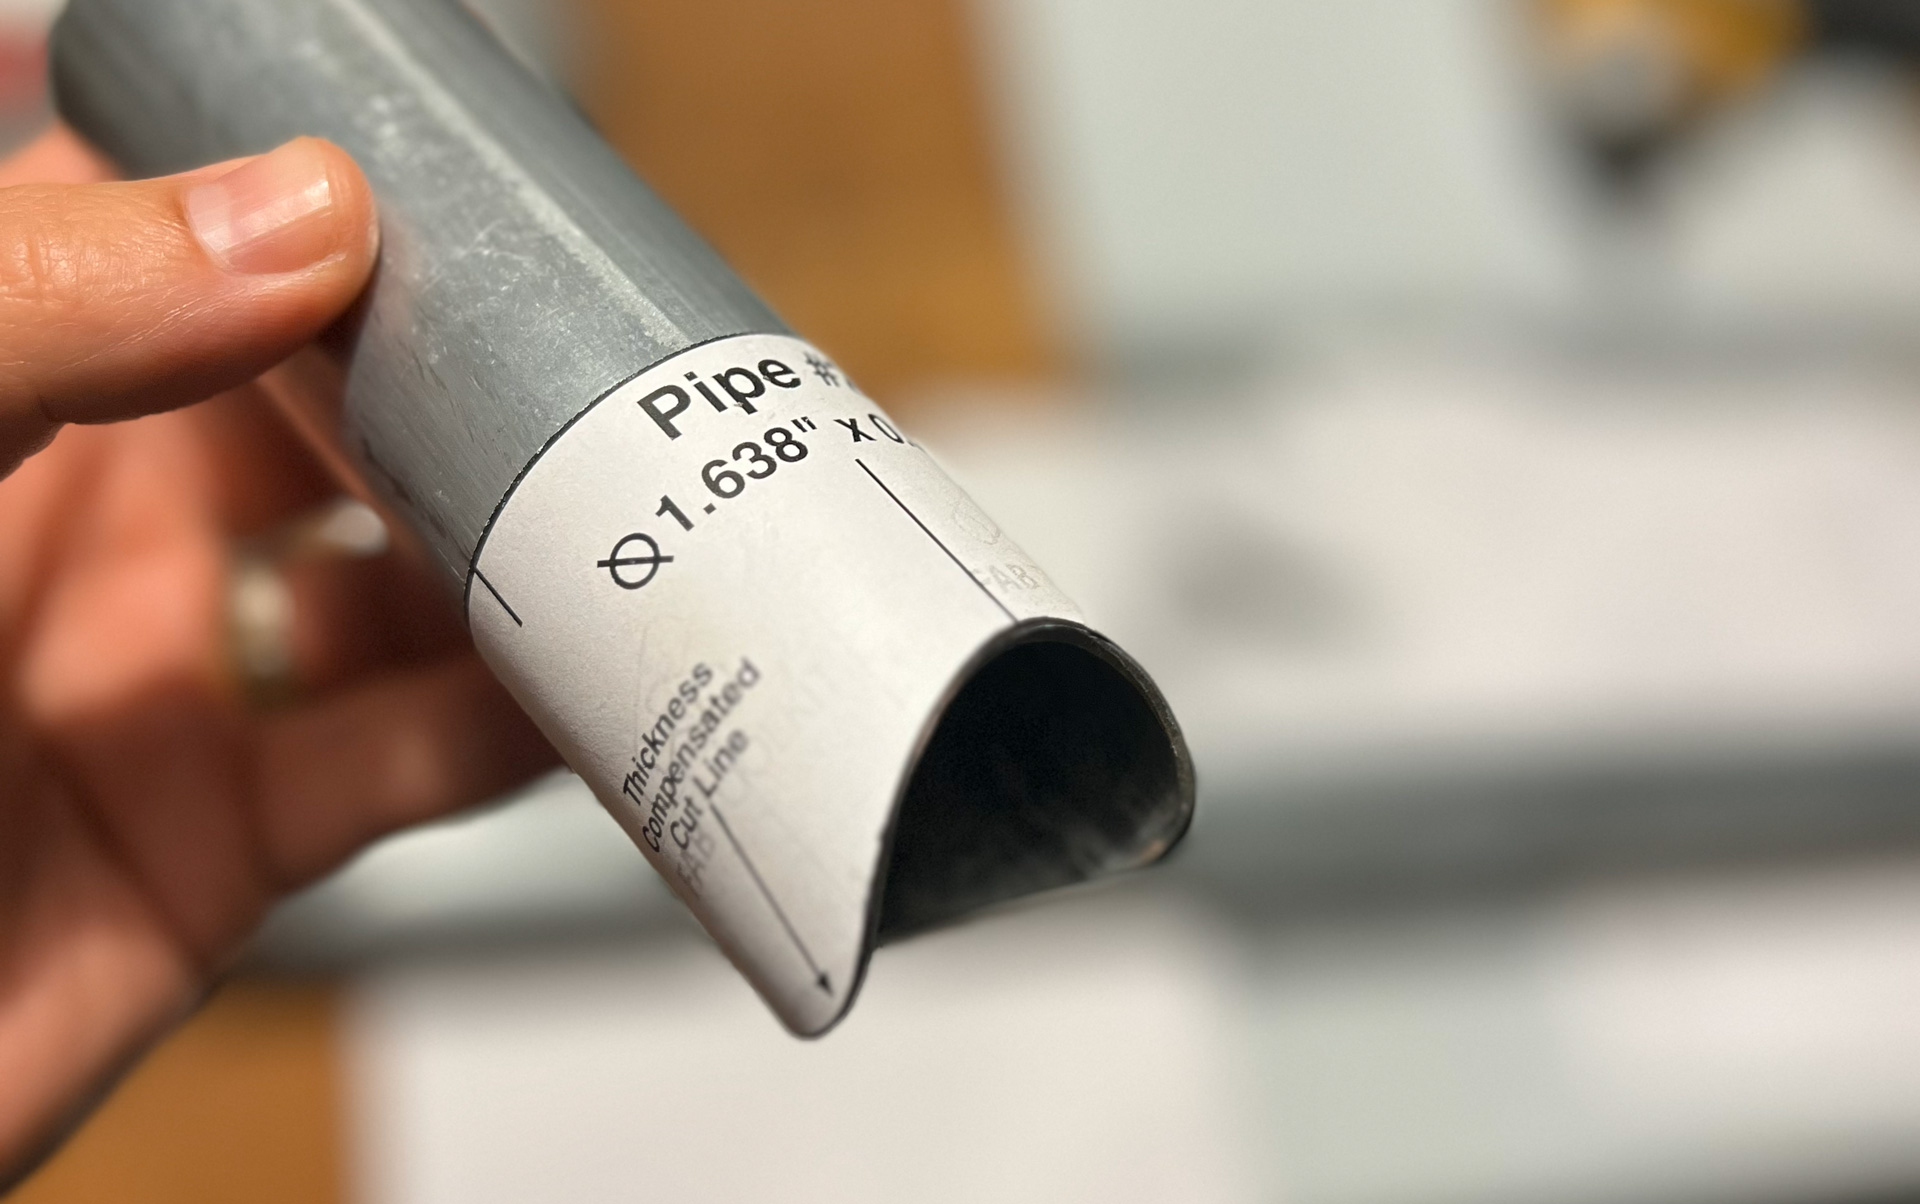
Step 3: Secure the Template Without Distortion
The goal is to hold the template tight to the tube without stretching or skewing it.
Common methods:
- Masking tape
- Light spray adhesive
- A small wrap of painter's tape at the seam
Tape should hold the paper flat, not pull it.
Step 4: Mark the Cut Line Cleanly
Use a fine-tip marker or scribe and follow the template edge carefully.
Good options:
- Fine-tip Sharpie
- Paint marker for dark steel
- Scribe for permanent layout
Thick markers work well too, because the idea is to grind off the line
Generate Your Tube Coping Template
Create precise, full-scale templates for any tube intersection in seconds. Free online tool — no signup required.
Launch Template GeneratorStep 5: Remove the Template and Inspect
Once marked:
- Remove the paper carefully
- Inspect the line for gaps or overlaps
- Re-mark any unclear sections before cutting
If the line looks uneven, fix it now — not after cutting.
Common Transfer Mistakes (and Fixes)
- Template slipped: Use more tape or lighter adhesive
- Line too thick: Switch to a finer marker
- Distorted wrap: Reprint and align the seam carefully
- Hard to see line: Use a heavier marker or layout fluid
Templates work — but they don't forgive rushed setup.
Why This Method Works So Well
When the template is:
- Printed accurately
- Wrapped evenly
- Marked cleanly
The resulting cut line already matches the mating tube. Cutting becomes execution, not problem-solving.
That's why many fabricators rely on printed coping templates even when other tools are available.
Related Guides & Tools
- Pipe Coping Template Generator
- How to Cope Pipe With Printable Templates
- Pipe Saddle Joint Explained
Ready to Start?
Use our free pipe coping template generator to create precise templates for your next project.
Get Started